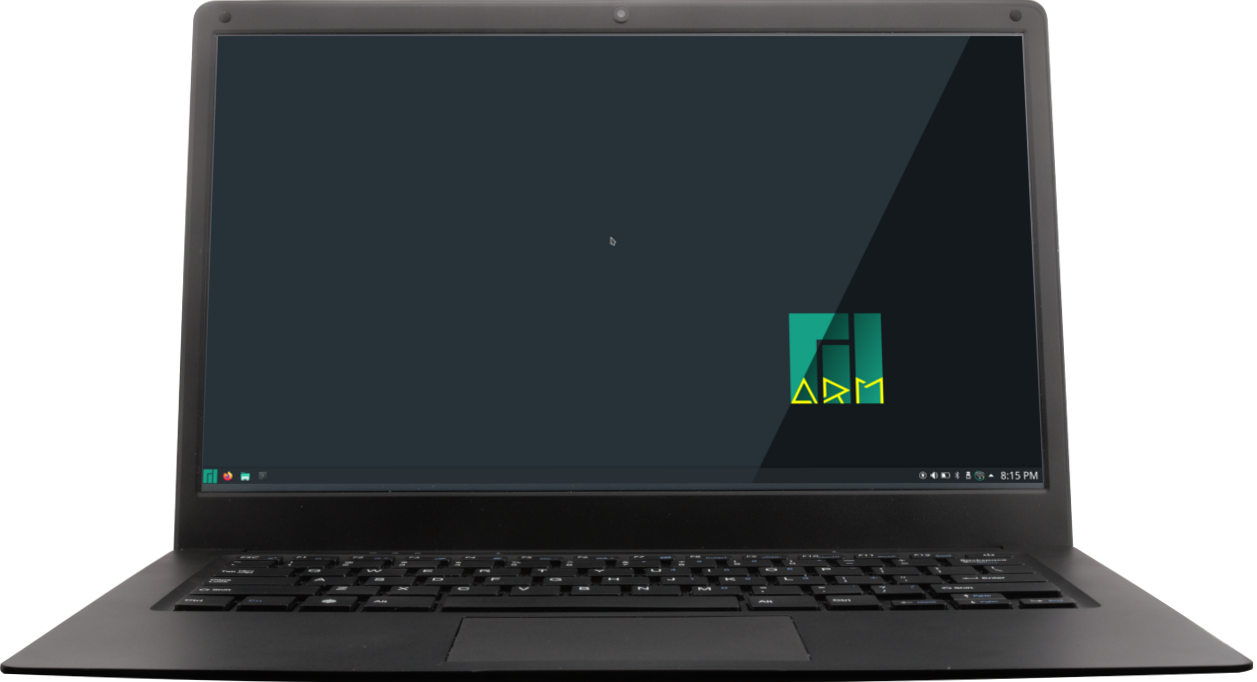
Pinebook Pro eMMC factory image

Pinebook Pro eMMC factory image
While there are many images available for the Pinebook Pro, I could not find a stock image easily. This might be useful to restore a Pinebook Pro to a state that provides an out-of-the-box experience.
This image was provided with a Pinebrook Pro that came from the May 2021 batch, and was made by extracting it from its 64 GB eMMC module without booting the device. Unless the device was intercepted and modified during shipment, this should be the same image as what was written to the eMMC module in the factory. The operating system it contains is Manjaro ARM. Based on the used kernel version, this image was probably made between 10 June 2020 and 17 June 2020.
Download the Pinebook Pro eMMC 2021-05 stripped factory image here
The ‘stripped’ image has all its unused padding space removed. It requires at least an eMMC module or microSD card with 8 GB of space. This is the recommended image to use, since it minimizes wear and tear of the flash memory it is written to. After first boot and initial configuration, Manjaro ARM will expand the system partition to the maximum available size of the storage medium.
Download the Pinebook Pro eMMC 2021-05 full factory image here
This is the full, ‘as is’ image. It requires an eMMC module or microSD card of at least 64 GB. This is more for historical reasons. Using the stripped image instead is recommended.
To write the stripped image to an eMMC module or microSD card, run as root in some form of recent Linux:
xzcat pbpro-emmc-stock-2021-05-stripped.img.xz | dd of=/dev/<DISK> iflag=nocache oflag=nocache,dsync bs=1M status=progress
Replace <DISK> with the device name of the eMMC module or a microSD card. On the Pinebook Pro with Manjaro ARM, this is likely to be mmcblk2 for the eMMC module or mmcblk1 for the microSD card. On another computer, a mmcblk# device name probably concerns an embedded SD card reader (where # is a number), or an sd? device name (where ? is a letter) if a USB SD card/eMMC module reader is used. When in doubt, use dmesg after connecting/inserting the device to find the relevant device name.
The iflag and oflag parameters disable the use of read and write cache, which makes the command finish only after all the data is written. The value bs=1M increases the read and write buffers to 1 MB to make the data transfer more efficient, and status=progress shows the progress of copying the decompressed data. More information about these parameters can be found here.
For reference, the full image was made with the command:
dd if=/dev/<DISK> bs=1M status=progress | xz -zc -T0 > pbpro-stock-emmc-2021-may.img.xz
Where <DISK> is the device name of my eMMC Module USB Adapter.
The stripped image was made by stripping all data after the last sector of the last partition in the full image, which was looked up in the partition layout.
