
64-bit Arch Linux ARM on a Raspberry Pi 4 Model B with 8 GB of RAM (May 2021 update)
Introduction
In a previous article I explained how to install the 64-bit (‘aarch64’) version of Arch Linux ARM on a Raspberry Pi 4 Model B with 8 GB of RAM in a way that works around several problems. Recently I was contacted by someone who told me that his Raspberry Pi 4 did not boot with the linked U-Boot package from Ubuntu. Officially there is currently only one revision of the 8 GB model, but I suspect that there can be minor differences in the same revision that might be troublesome for booting. In addition, I suspect that some of the problems can occur with other newer Raspberry Pi 4 models that are of the same revision with less memory.
This short update explains a newer and simpler method to solve the noted problems with a stock fresh Arch Linux ARM installation on the noted Pi models. For reference, these problems are:
- The Pi is unable to perform a headless boot (without a monitor connected). The issue is described here, and is most likely solved by this commit.
- The USB-A 2.0 and 3.0 ports do not work. This is fixed by the same U-Boot commit and by installing a newer Arch Linux ARM mainline aarch64 kernel.
- The wireless adapter sometimes does not initialize correctly. This is also solved by a kernel update.
In this update, the Pi Foundation’s kernel is not needed anymore. A newer U-Boot release is still needed. While writing this guide, the U-Boot package of Arch Linux ARM was finally updated. However, the new U-Boot image is not integrated yet in the current Raspberry Pi aarch64 installation image. To work around this problem for the first boot, binaries (built based on these instructions) are provided. The binary package of this new U-Boot release can be found here, and the package source can can be found here. The instructions in this tutorial use this package in such a way that a future update of Arch Linux ARM’s U-Boot package will overwrite the changes. Therefore, the change made to stock aarch64 Arch Linux ARM on a Pi 4 will be automatically removed in the future, when it is not needed anymore.
Prerequisites
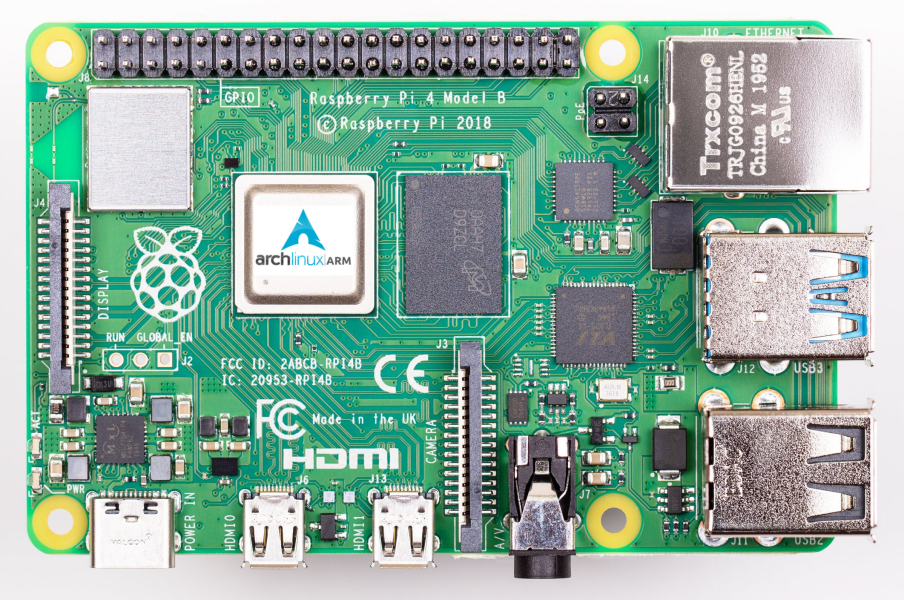
- A Raspberry Pi 4 Model B with 8 GB of RAM. If you experience some of the noted problems with a Pi 4 with less memory, these instructions might prove useful as well.
- A microSD card (at least 8 GB recommended). USB and network boot are also supported, but are outside of the scope of this guide. If the noted problems are solved, implementing USB or network boot should be trivial.
- An SD card reader with a microSD adapter, or a microSD card reader. This can either be embedded in a notebook, or a USB (micro)SD card reader can be used.
- A computer (or virtual machine) running an up-to-date Linux distribution to write the microSD card. For this guide Arch Linux was used, but any other modern Linux distribution should do.
- Some way to control the Pi without the use of a keyboard, due to a lack of USB support upon initial boot. Wired network (with DHCP) and SSH are enabled by default. Alternatives include the Pi’s serial port capabilities over UART and USB-C. Check the previous article for more information about this.
- A wired or wireless internet connection to update Arch Linux ARM when it is running on the Pi 4.
Prepare the microSD card
This mostly concerns following the official instructions from Arch Linux ARM, with a bit of customization at the end due to the older bootloader that is currently shipped with the 64-bit Arch Linux ARM image for Raspberry Pi’s.
Copy Arch Linux ARM to the microSD card
The following commands concern the installation of Arch Linux ARM to a microSD card, conforming to the official installation instructions.
For these commands, it is assumed that your SD card reader is offered as device /dev/mmcblk0. Adjust the configuration variables if necessary, for example when a USB SD card reader is used. Be careful to not overwrite data on a device you do not want to write to!
You can adjust the download directory in case RAM is limited on the computer used to prepare the microSD card.
Run as root:
export SDDEV=/dev/mmcblk0
export SDPARTBOOT=/dev/mmcblk0p1
export SDPARTROOT=/dev/mmcblk0p2
export SDMOUNT=/mnt/sd
export DOWNLOADDIR=/tmp/pi
export DISTURL="http://os.archlinuxarm.org/os/ArchLinuxARM-rpi-aarch64-latest.tar.gz"

mkdir -p $DOWNLOADDIR
(
  cd $DOWNLOADDIR && \
  curl -JLO $DISTURL
)

sfdisk --quiet --wipe always $SDDEV << EOF
,256M,0c,
,,,
EOF

mkfs.vfat -F 32 $SDPARTBOOT
mkfs.ext4 -E lazy_itable_init=0,lazy_journal_init=0 -F $SDPARTROOT

mkdir -p $SDMOUNT
mount $SDPARTROOT $SDMOUNT
mkdir -p ${SDMOUNT}/boot
mount $SDPARTBOOT ${SDMOUNT}/boot

bsdtar -xpf ${DOWNLOADDIR}/ArchLinuxARM-rpi-aarch64-latest.tar.gz -C $SDMOUNT

sed -i 's/mmcblk0/mmcblk1/' ${SDMOUNT}/etc/fstab
Update the bootloader manually
Replace the Das U-Boot bootloader with a newer version. Run as root:
mkdir -p ${DOWNLOADDIR}/uboot
pushd ${DOWNLOADDIR}/uboot
curl -JLO https://kiljan.org/downloads/pi/uboot-raspberrypi-rc-2021.07rc3-1-aarch64.pkg.tar.xz
tar xf *
cp boot/kernel8.img ${SDMOUNT}/boot/
popd
You can also replace the URL with the download link of the latest Arch Linux ARM package, which can be found on this page.
If you have to change anything in the Pi’s boot configuration, do it now.
Remove the SD card safely
Run as root:
sync && umount -R $SDMOUNT
Now remove the microSD card.
Boot the Raspberry Pi to update Arch Linux ARM
Insert the microSD card in the Raspberry Pi and apply power.
Login
If you have a USB keyboard connected, you will note that it is not recognized. Gain access through a wired network connection using SSH or through a serial connection. If a network connection is used, monitor your DHCP server for the correct IP address. For a serial connection, make sure to use the proper pins of the GPIO connector (UART TX, UART RX, Ground), a baud rate of 115,200, 8 data bits, no parity, 1 stop bit, and no flow control.
Use the Arch Linux ARM default credentials.
Username: alarm Password: alarm
After login, use su root to gain root access. The password of the root account is ‘root’.
All following commands are executed on the Raspberry Pi as root.
Test and fix wireless network support
This step is only necessary if a wireless network connection is required to update the Pi. Skip it otherwise.
Run:
ls /sys/class/net
If ‘wlan0’ is listed, skip this section. If ‘wlan0’ is missing, run:
dmesg | grep "brcmfmac"
The output can be similar to this:
[    6.874361] brcmfmac: brcmf_fw_alloc_request: using brcm/brcmfmac43455-sdio for chip BCM4345/6
[    6.884768] usbcore: registered new interface driver brcmfmac
[    9.609512] brcmfmac: brcmf_sdio_bus_rxctl: resumed on timeout
[   16.608713] brcmfmac: brcmf_sdio_firmware_callback: brcmf_attach failed
This is a timeout issue that sometimes happens during boot with older mainline aarch64 kernels. It can often be fixed with a reboot, or by running:
rmmod brcmfmac && modprobe brcmfmac
Now run ls /sys/class/net again, and ‘wlan0’ should be listed.
This issue should not occur anymore after Arch Linux ARM has been updated.
Test USB support
Testing whether USB works or not is as easy as connecting a keyboard and determining that it does not respond. It can also be tested on the Pi itself. Run:
dmesg|grep "xhci_hcd"
The output probably looks like:
[    6.547972] xhci_hcd 0000:01:00.0: xHCI Host Controller
[    6.560878] xhci_hcd 0000:01:00.0: new USB bus registered, assigned bus number 1
[   16.570916] xhci_hcd 0000:01:00.0: can't setup: -110
[   16.575995] xhci_hcd 0000:01:00.0: USB bus 1 deregistered
[   16.581796] xhci_hcd 0000:01:00.0: init 0000:01:00.0 fail, -110
[   16.587857] xhci_hcd: probe of 0000:01:00.0 failed with error -110
This indicates that USB does not work. This will be fixed in the next step.
Update Arch Linux ARM
An internet connection is required. Run wifi-menu to configure a wireless connection, if necessary.
To update Arch Linux ARM for the first time, run:
pacman-key --init
pacman-key --populate archlinuxarm
pacman -Syu --noconfirm
This will install new versions of Arch Linux ARM’s boot loader and mainline aarch64 kernel. Afterwards, reboot.
Test USB support again
After the reboot and logging in, run:
dmesg|grep "xhci_hcd"
The output should now be similar to:
[    6.577338] xhci_hcd 0000:01:00.0: xHCI Host Controller
[    6.577921] xhci_hcd 0000:01:00.0: new USB bus registered, assigned bus number 1
[    6.578733] xhci_hcd 0000:01:00.0: hcc params 0x002841eb hci version 0x100 quirks 0x0000000000000890
[    6.581127] xhci_hcd 0000:01:00.0: xHCI Host Controller
[    6.581471] xhci_hcd 0000:01:00.0: new USB bus registered, assigned bus number 2
[    6.581483] xhci_hcd 0000:01:00.0: Host supports USB 3.0 SuperSpeed
[    6.947584] usb 1-1: new high-speed USB device number 2 using xhci_hcd
This indicates that USB will work from now on.
Concluding remarks
The default Das U-Boot bootloader and the included mainline aarch64 kernel of Arch Linux ARM have multiple little quirks with the Pi 4 with 8 GB of RAM, and possibly with other newer Pi 4 boards as well. Combined, these quirks are quite annoying: a Pi will not boot without a connected HDMI monitor, the USB-A ports are not working, and sometimes the wireless network card fails to initiate.
It is possible to solve these issues by updating the bootloader manually for the first boot, and by updating Arch Linux ARM so the latest bootloader and mainline aarch64 kernel packages are installed. A newer version of the bootloader and the mainline kernel should be included in a future update of the Raspberry Pi Arch Linux ARM aarch64 image. From that moment on, the problems in this guide should not occur anymore on newer installations.